Tire Removal
|
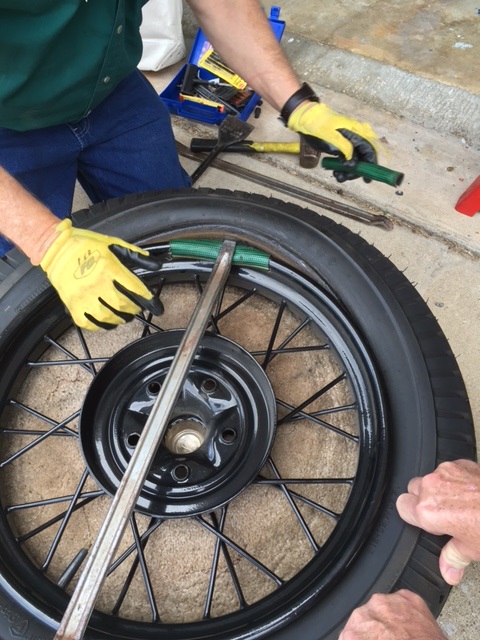
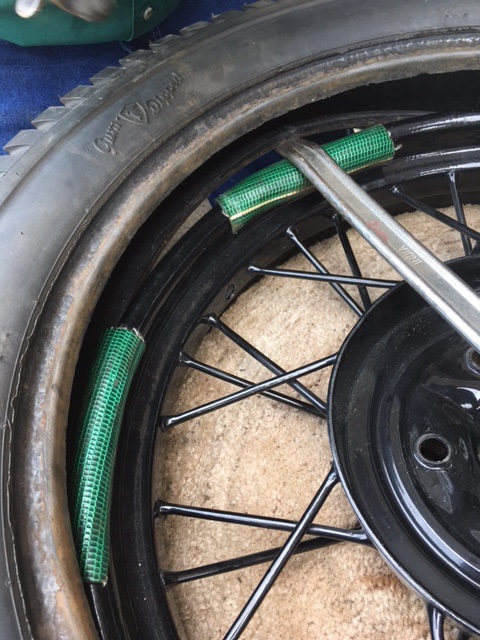
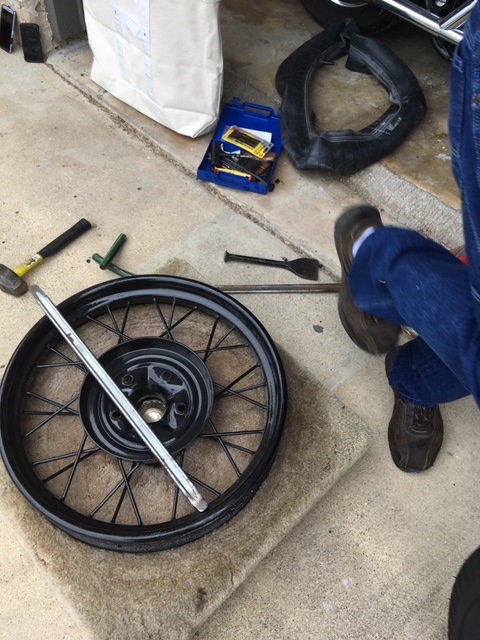
| First Ron Taylor removed the valve stem to let the air out. We then stepped on the tire, breaking it free from the rim all the way around. The sections of water hose will protect the painted finish of the wheels when changing a tire. In this case, Felix is changing the wheel color, so in the interest of time, we abandoned the hose. |
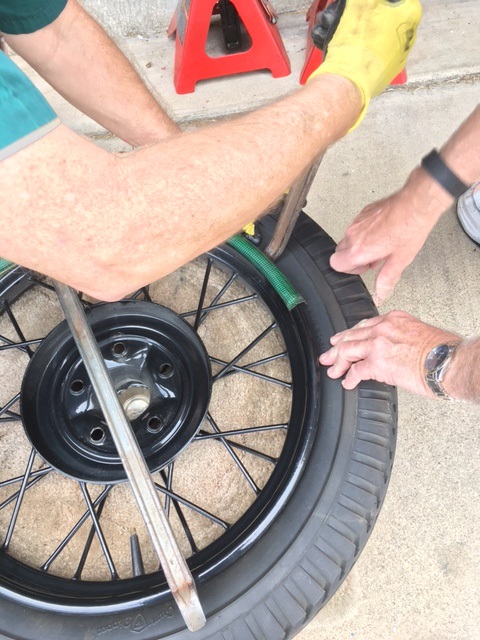
| The extra long tire irons make it very easy. The job was also easier with four hands. I held down the first tire iron to keep it above the rim. At the same time, Ron continued lifting the tire over the rim with the second tire iron. We continued all the way around, being very careful not to pinch the tube between the iron and the wheel. |
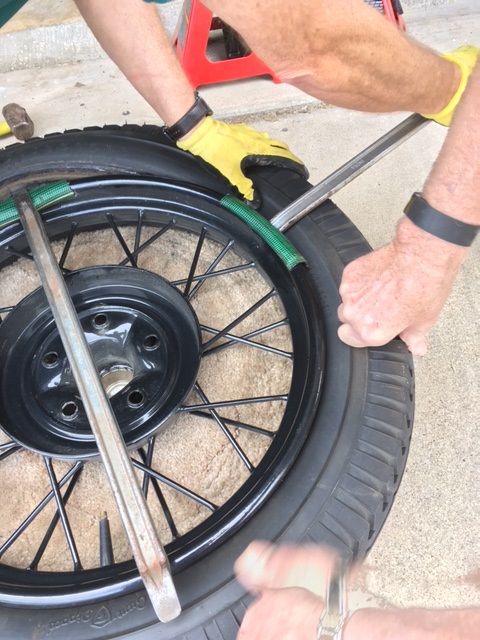
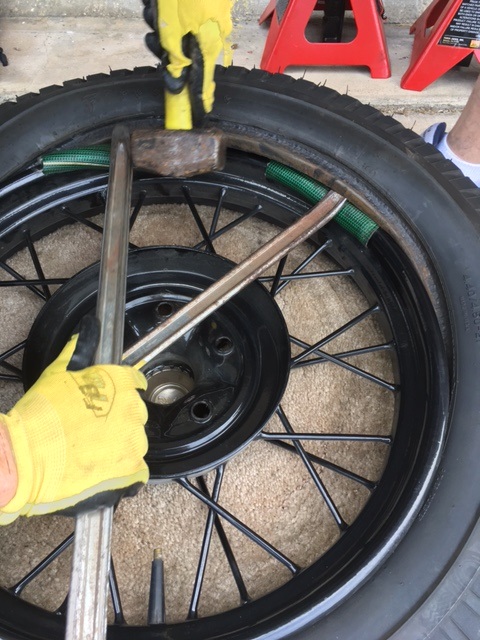
| You can use the sledge hammer to work your way around the wheel and rim, but it's easier to move the iron from place-to-place. |

| Once the first side was free from the wheel, the valve stem was pushed inside, and then the tube was removed. |
| We then turned it over to pry the other side of the tire out of the rim in the same manner. |
| The chisel was used in conjunction with the 1st iron to hold the tire from slipping back inside the rim.
If you can't stand on the tire to break it free from the rim, use the wide chisel (working smarter not harder).
Here you can see Paul Ranney's carpet padded fixture. He built it about 5 inches high with a hole in the middle. |
![]()